Dupa plasarea solicitării de comandă, in sectiunea Istoric puteti vedea cate solicitări de comandă mai avem de procesat inaintea dumneavoastra
Program de lucru: Luni - Vineri 9:00 - 18:00, pauza 13:00 - 14:00.
Se efectueaza lucrari de mentenanta la site si pot aparea erori. In cazul in care intampinati erori va rugam sa reincercati mai tarziu.
Ridicarea personala este disponibila pentru comenzile achitate in avans. Se pot ridica dupa ce sunt pregatite.
Niciun produs
 Mărește
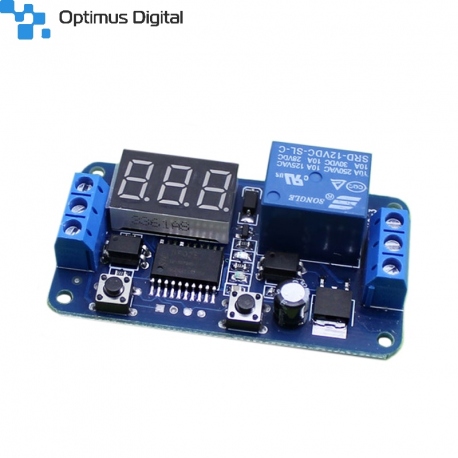
Releu Controlat cu 12 V cu Întârziere Reglabilă (220 V)
0104110000020574
Produs nou
Releul de 12 V cu întârziere reglabilă este util în proiectele în care este nevoie să controlați consumatori de 230 V AC.
9 bucati in stoc
- Scrie o recenzie
- Elimina acest produs din lista mea de favorite.
- Adauga acest produs la lista mea de favorite.
- Imprimă
Informații
Caracteristici tehnice:
- Tensiunea de alimentare: 12 V DC;
- Tensiunea curent alternativ controlată: 125 V AC - 250 V AC;
- Tensiunea curent continuu controlată: 28 V DC - 30 V DC;
Instrucțiuni de utilizare:
1. Conectați consumatorul la releu.
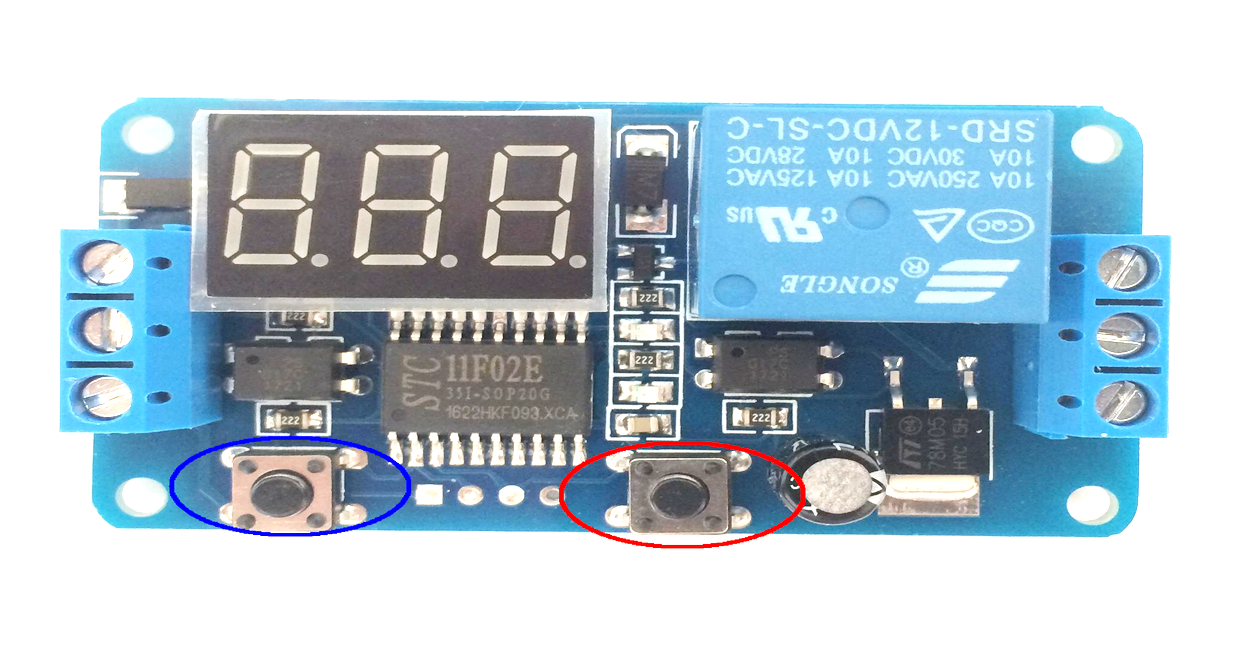
Există mai multe moduri de conectare a unui consumator ( sau mai mulți consumatori ) la releul. Modul cel mai simplu și cel mai folosit este întreruperea unui fir ( faza sau nulul ) și conectarea acestuia la pin-ul din mijloc ( "COM" - Common ) și la unul dintre celelalte doua pin-uri ( "CB" este echivalentul NC- Normally Closed sau "CK" este echivalentul NO - Normally Open).
În cazul în care se conectează la pin-ul CK, circuitul se închide atunci când temporizatorul s-a activat. Atunci când se conectează la CB, circuitul rămâne închis până când temporizatorul se activează.
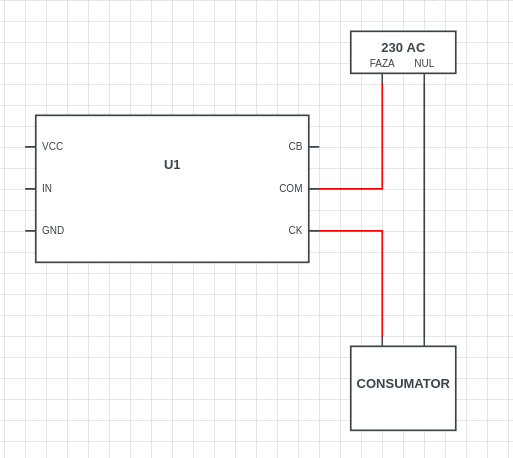
ATENȚIE!!! Este recomandat să deconectați consumatorul de la rețeaua de 230 V AC până când ajungeți la pasul 5 pentru a evita eventualele accidente.
2.Alimentați modulul cu o sursă de 12 V DC.
Alimentarea modului se realizează prin intermediului terminalelor cu șuruburi.
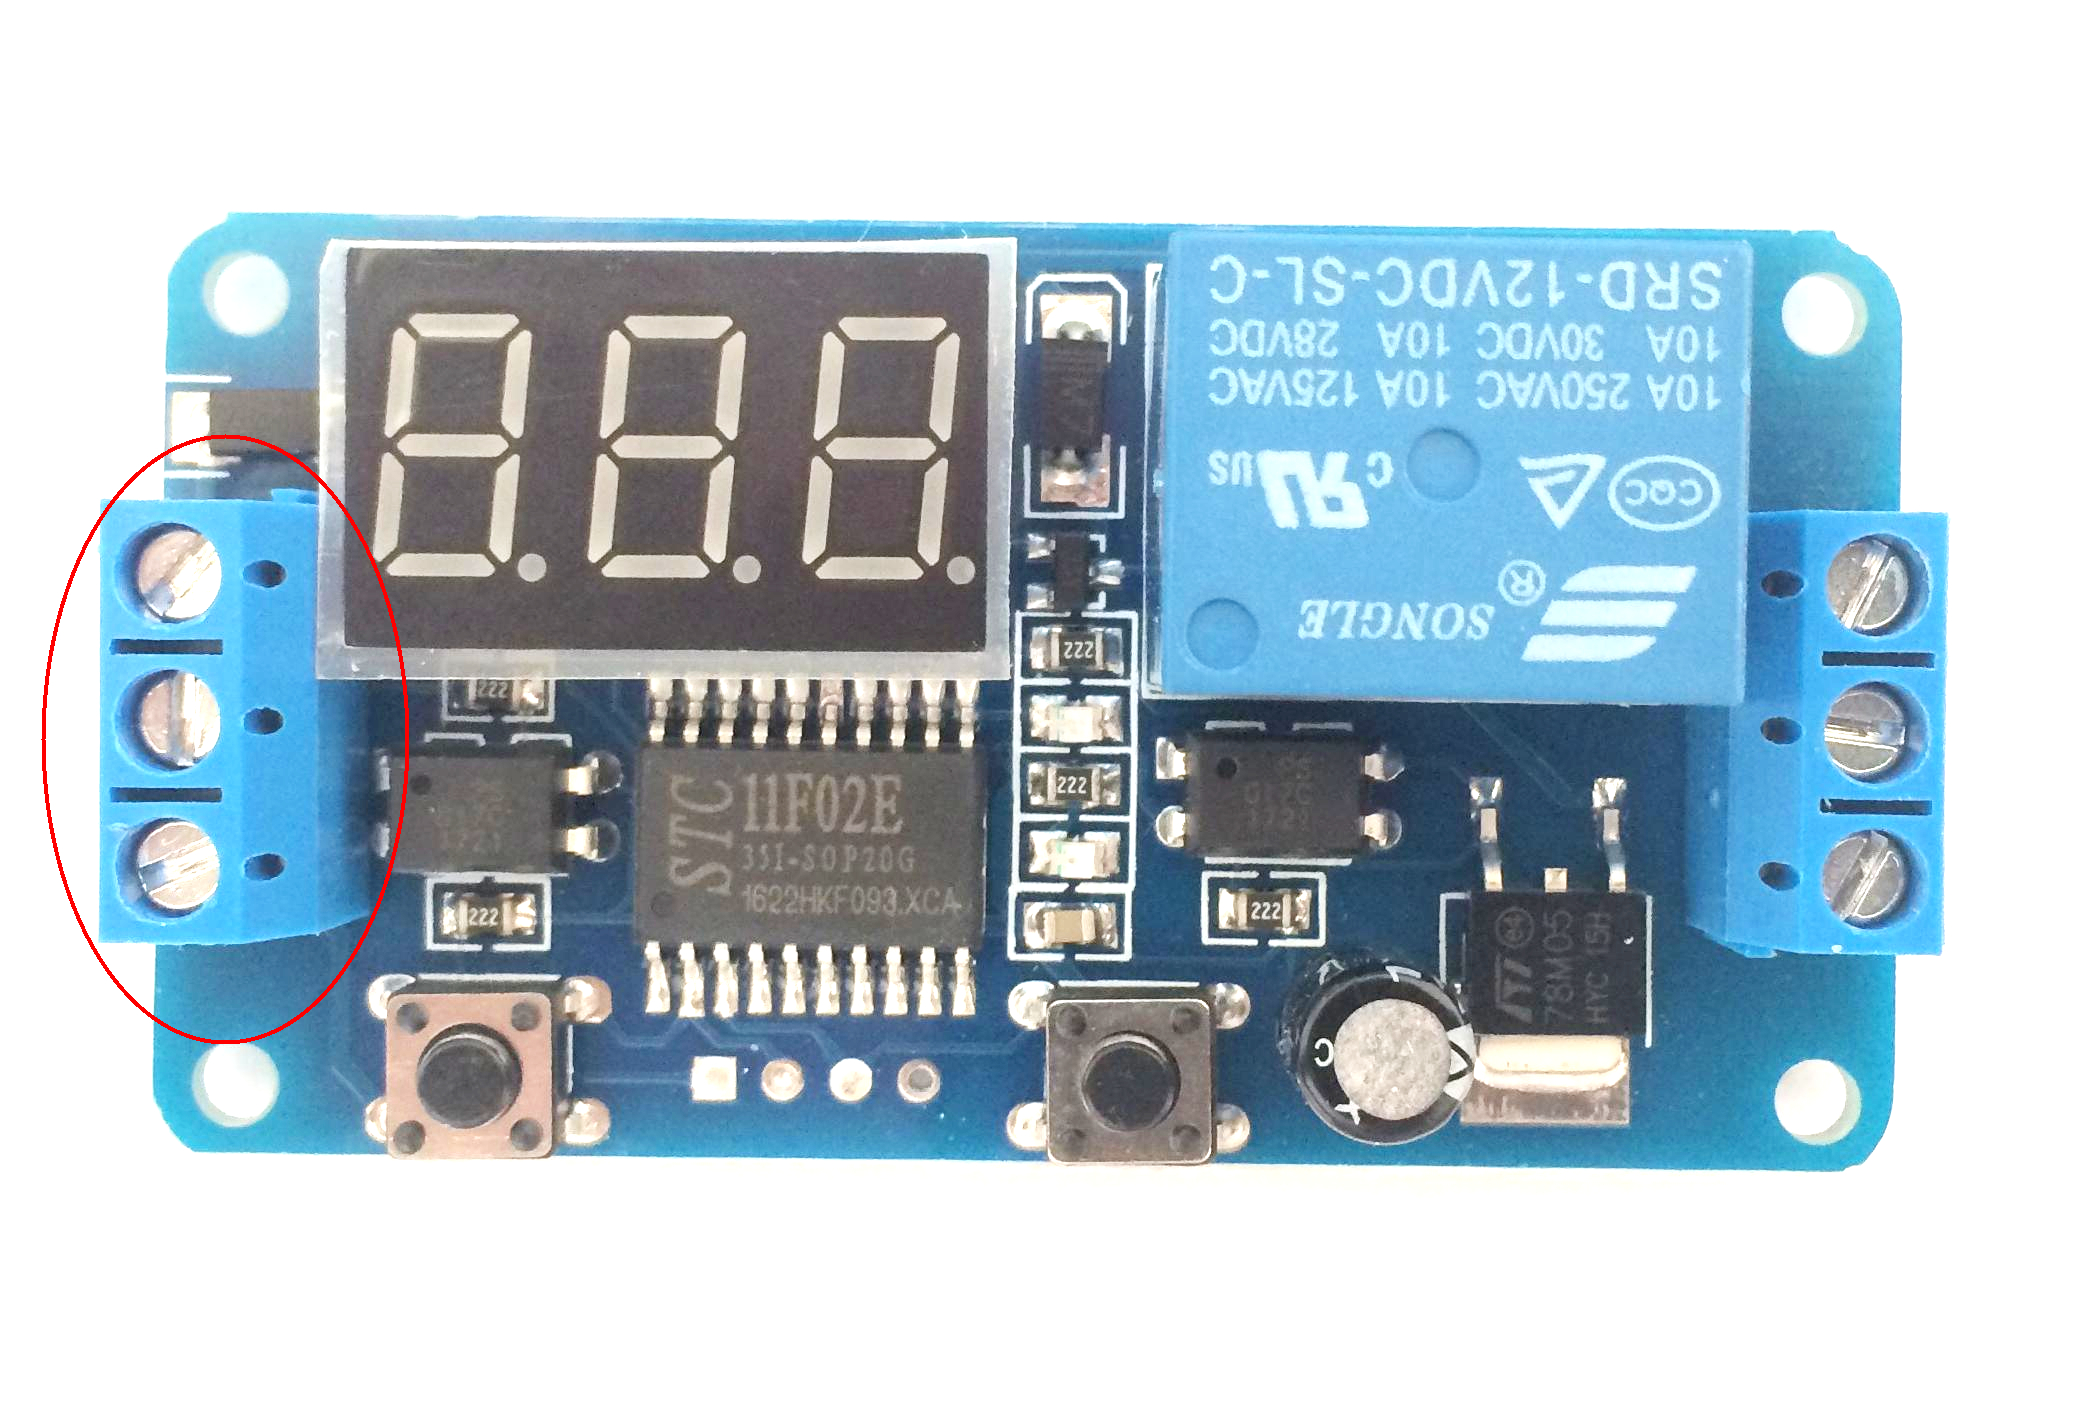
Pinii corespunzători GND și VCC sunt marcați pe partea din spate. Aveți grijă să nu inversați polaritatea pentru a risca să stricați produsul.
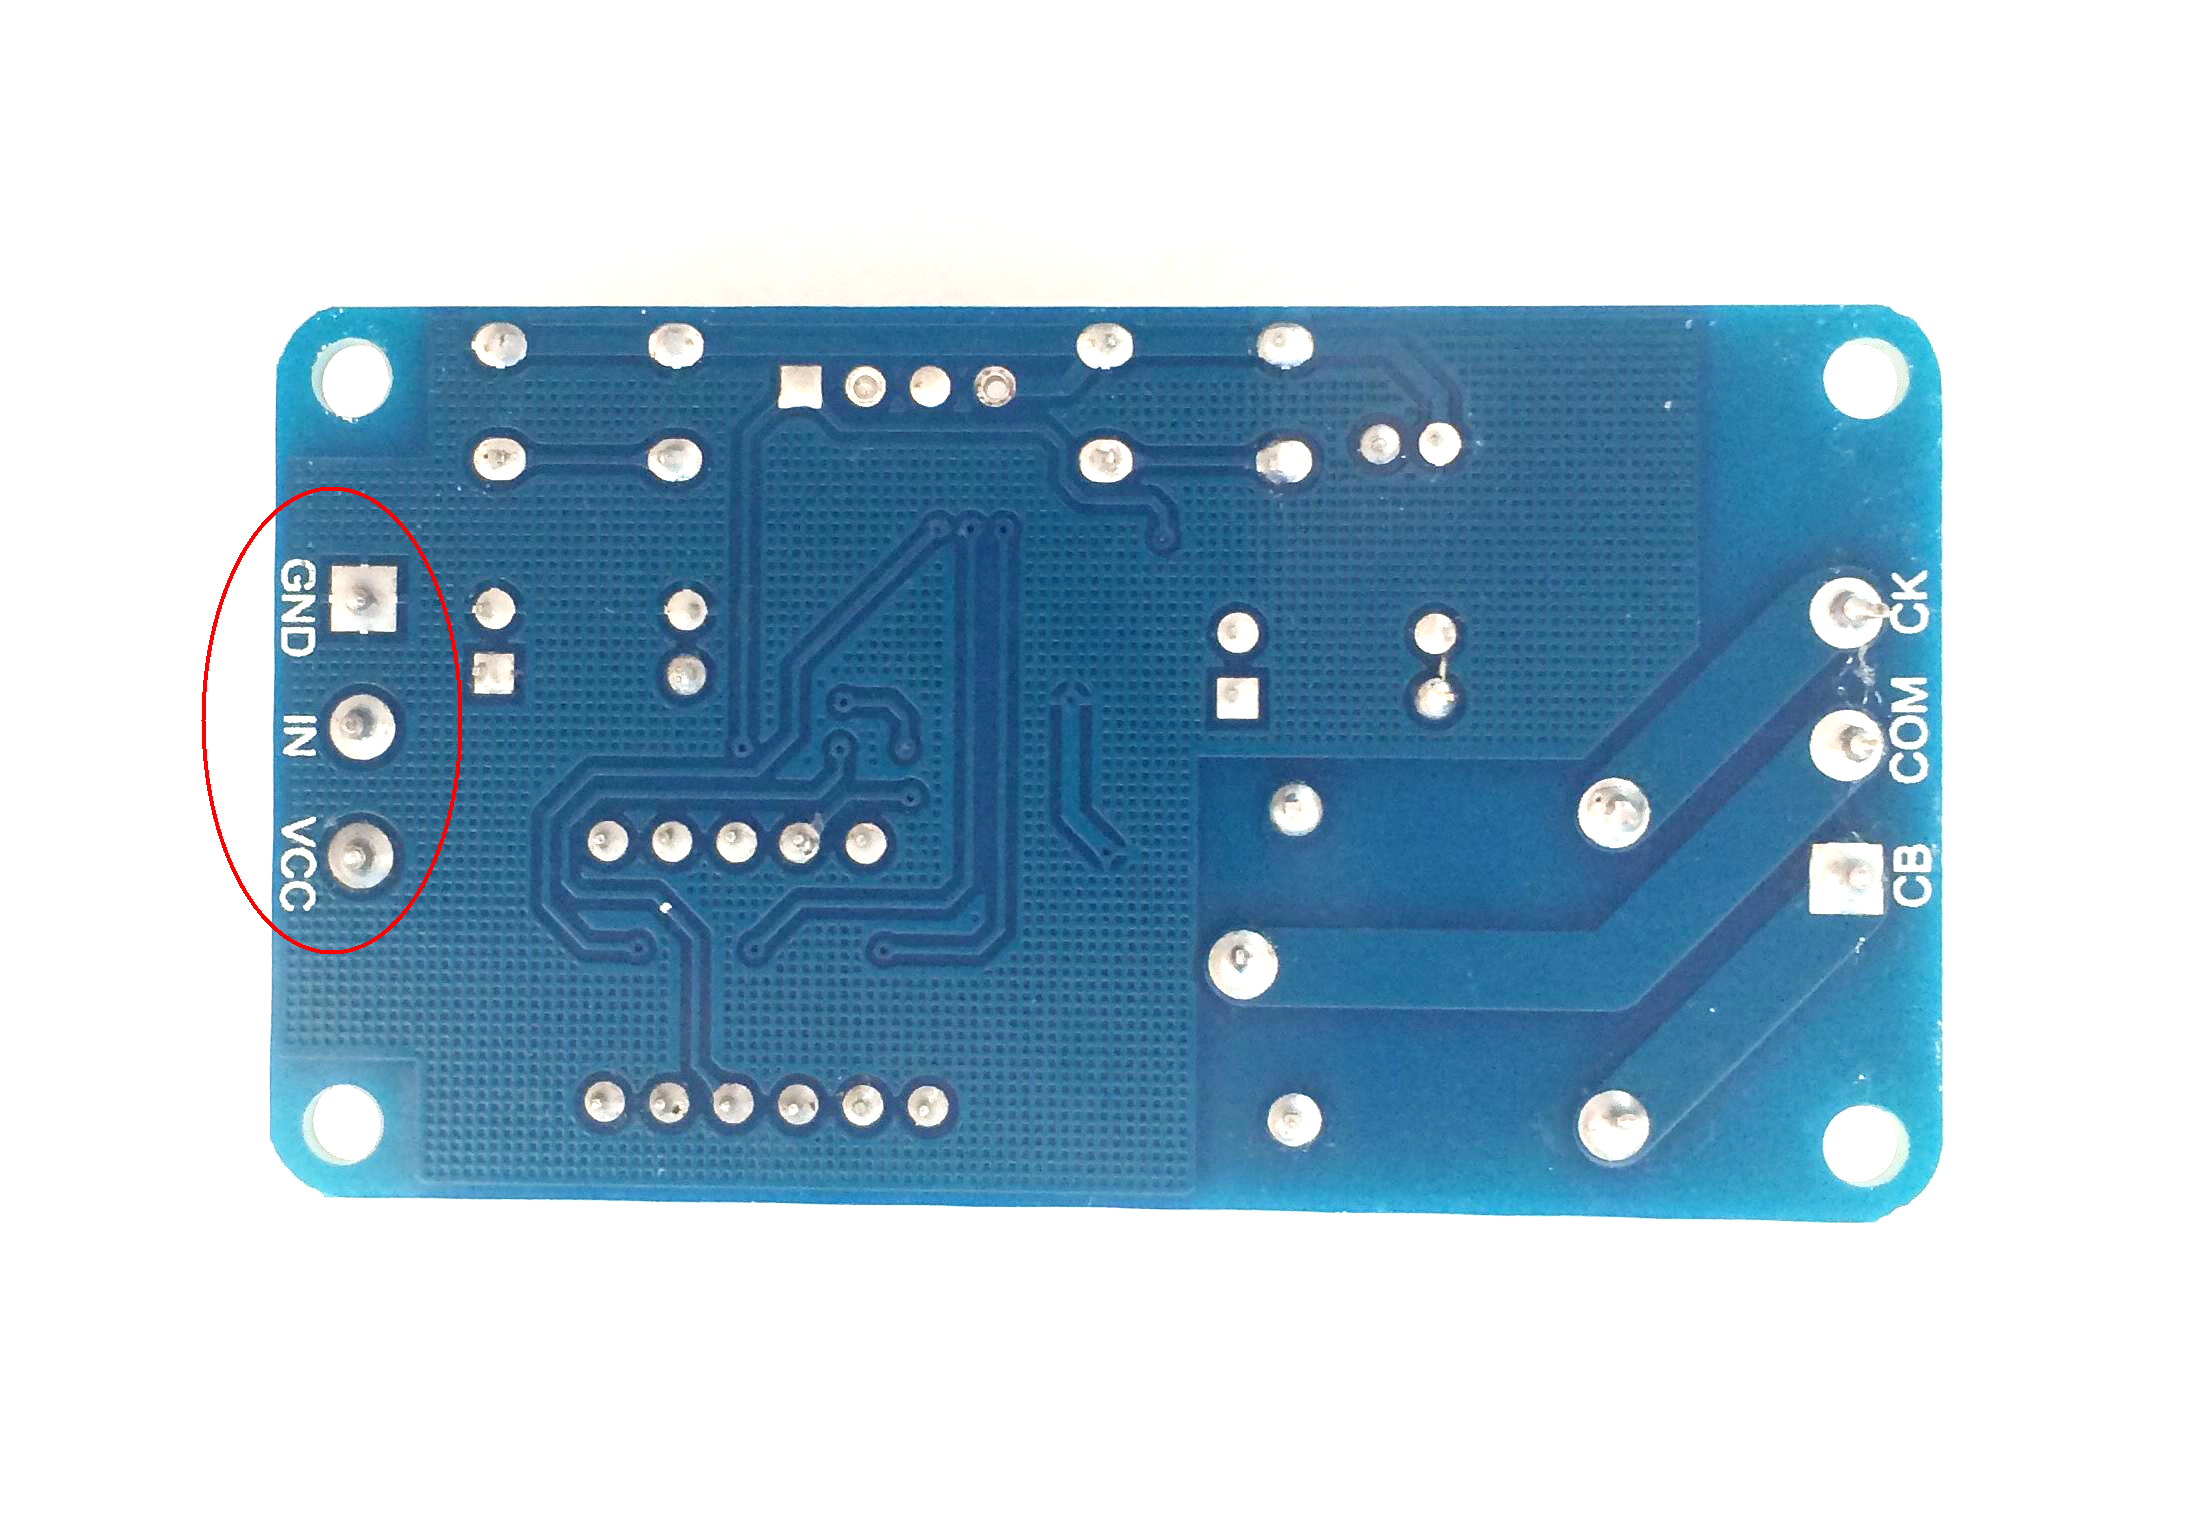
3.Configurați durata de întârziere de activare a releului.
Configurarea se realizează utilizând cele doua butoane montate pe placă.
Pentru a seta durata de activare se procedează astfel:
- Butonul încercuit cu albastru are rolul de a selecta următoarea cifră de la stânga la dreapta.
- Butonul încercuit cu roșu are rolul de a incrementa cu 1 cifra selectată.
4.Conectați elementul declanșator la pin-ul IN.
Pentru a activa releul, este nevoie să se aplice o tensiune de 5 V - 12 V pe pin-ul IN. Acest lucru se poate realiza utilizând un Arduino sau orice altă sursă de tensiune. Dacă se folosesc două surse (de exemplu, una pentru alimentarea modului și una pentru Arduino), nu uitați să conectați pinul GND al plăcii Arduino la pinul GND al modulului.
Numărul afișat pe ecranul cu segmente reprezintă numărul de secunde cât timp stă releul activat.
Numărul afișat pe ecran exprimă numărul de secunde care trebuie să treacă ca releu să se activeze din momentul în care se detectează o tensiune pe pin-ul IN (aflat între GND și VCC).
5. Alimentați consumatorul de la rețeaua de 230 V.
După ce ați terminat de configurat întârzierea și de realizat conexiunile necesare, trebuie să va asigurați ca acestea au fost realizate corespunzător. Acum puteți conecta consumatorul la rețeaua de curent alternativ. Acum tot ce trebuie să mai faceți este să aplicați o tensiune pe pin-ul IN care să activeze releul.
Recenzii
Clienții care au cumpărat acest produs au mai cumpărat:
-
Suport...
Suport pentru Axa Liniară SK10
$1.92
-
Capac...
Capac Colorat pentru Potentiometru Negru cu Alb
$0.24
-
Capac...
Capac Colorat pentru Potentiometru Negru cu Galben
$0.24
-
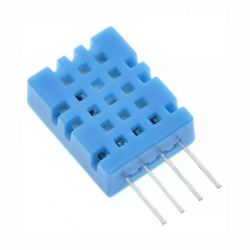
Senzor de...
DHT11 este un senzor de umiditate si...
$1.56
-

Kit Placă...
Acest kit poate fi folositor pentru înțelegerea...
$0.96
-
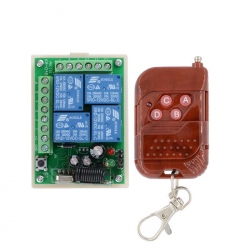
Modul cu 4...
Acest modul cu telecomandă dispune de patru...
$15.12
-
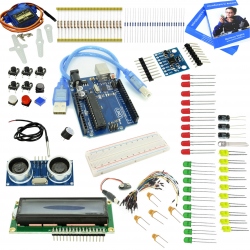
Kit...
Kit-ul "Introducere în Arduino" conține 104...
$43.92
-
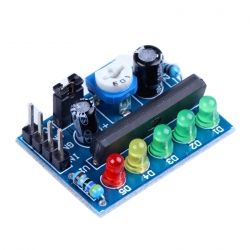
Indicator de...
Indicator de nivel al bateriei KA2284 util...
$1.44
-

Capac...
Capac Colorat pentru Potentiometru Negru cu...
$0.24
-
Modul cu...
Modul cu Tranzistor de Putere IRF520 potrivit...
$0.96


