Dupa plasarea solicitării de comandă, in sectiunea Istoric puteti vedea cate solicitări de comandă mai avem de procesat inaintea dumneavoastra
Program de lucru: Luni - Vineri 9:00 - 18:00, pauza 13:00 - 14:00.
Se efectueaza lucrari de mentenanta la site si pot aparea erori. In cazul in care intampinati erori va rugam sa reincercati mai tarziu.
Ridicarea personala este disponibila pentru comenzile achitate in avans. Se pot ridica dupa ce sunt pregatite.
No products
 View larger
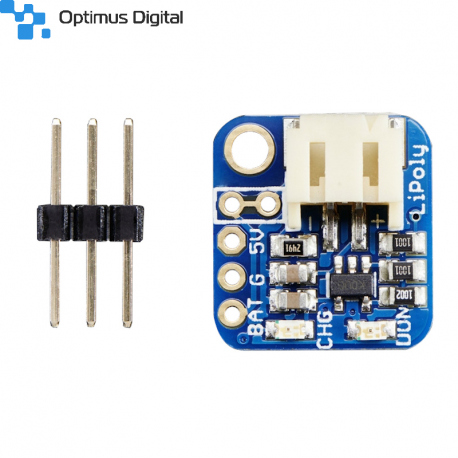
Adafruit Pro Trinket LiIon/LiPoly Expansion Board
P2124
New product
This LiPoly backpack makes it really easy to do! Instead of wiring 2 or 3 boards together to make a charging system, this little PCB sits on top of the PCB and allows a LiPoly/LiIon battery to plugin.
See description for more details about the product.
Add to cart now!
This product is no longer in stock
- Write a review
- Remove this product from my favorite's list.
- Add this product to my list of favorites.
More info
Description
If you have an ItsyBitsy or Pro Trinket you probably know it's the perfect little size for a portable project. This LiPoly backpack makes it really easy to do! Instead of wiring 2 or 3 boards together to make a charging system, this little PCB sits on top of the PCB and allows a LiPoly/LiIon battery to the plugin. When the Pro Trinket or ItsyBitsy USB port is powered, the battery is recharged automatically. Unplug the USB port and the microcontroller will switch over to the rechargeable battery.
Ideally, this backpack is for use with the 3.3V Pro Trinkets & ItsyBitsy, so that the battery voltage (3.7V-4.2V) will get regulated down to 3.3V on the board. However, many times, you can run a 5V microcontroller + accessories off of the ~4V from the LiPoly battery with no problem. (Technically its overclocking but we've never seen that affect the microcontroller itself, AVRs are happy to overclock without complaint).
Solder the backpack on with the extra-long header so that it can still plug into a breadboard, or clip the long header leads short afterward for a slim package. There are two LEDs - one red and one green. While charging, the red LED is lit. When the battery is fully charged and ready for use, the green LED turns on. Seriously, it could not get easier.
If you want to add an On/Off switch, we also made that really easy. The two 0.1" holes with a box around them are the battery output line. Carefully cut the trace between them with a hobby knife and replace with two wires from a switch like this slide switch, or this pushbutton one, for example.
Charging is performed in three stages: first a preconditioning charge, then a constant-current fast charge and finally a constant-voltage trickle charge to keep the battery topped-up. The charge current is 100mA by default, so it will work with any size battery and USB port. If you want you can easily change it over to 500mA mode by soldering closed the jumper on the bottom, for when you'll only be charging batteries with 500mAh size or larger.
For use with Adafruit LiPoly/LiIon batteries only! Other batteries may have different voltage, chemistry, polarity or pinout.
- Comes assembled and tested
- Uses the 5V input via the Micro-B USB connector on the Pro Trinket or ItsyBitsy
- For charging single Lithium Ion/Lithium Polymer 3.7/4.2v batteries (not for older 3.6/4.1v cells)
- 100mA charge current, adjustable to 500mA by soldering a jumper closed
Batteries and Pro Trinket or ItsyBitsy not included.
Note: You may get an off-white or a black JST connector. It's normal for the the red and green LED's to be very faintly glowing when the battery is attached but not charging, there is 500uA reverse-leakage current from the schottkey diode from the battery that backpowers the charger chip.
Technical Details
Details:
- Dimensions: 15mm x 17mm x 2mm / 0.6" x 0.7" x 0.08"
- Height w/ JST: 7mm / 0.3"
- Weight: 1.3g
Don't delay. Buy today.
Add to cart now!
Reviews
Customers who bought this product also bought:
-
Transistor...
The ideal electronic component for switching...
$0.24
-
HC-05 Master...
The HC-05 Bluetooth module is a high...
$6.74
-
Colored...
Colored Cover for Potentiometer (Black and...
$0.24
-
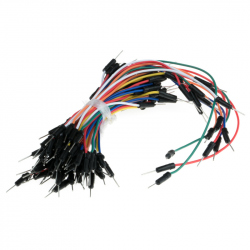
Breadboard...
Those jumpers are ideal to be used for...
$1.92
-
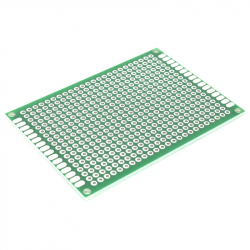
50x70 mm...
This is a double sided solderable universal...
$0.48
-
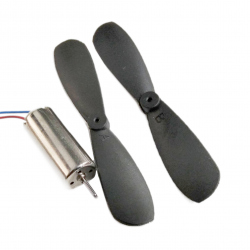
7x16 mm...
7x16 mm Motor with 2 Propellers
$4.80
-
Blue 0.9"...
This 0.91" OLED Module (128x32 px) is a display...
$5.00
-
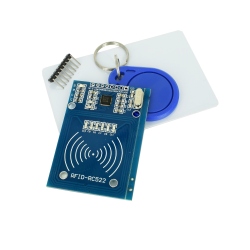
MFRC522 RFID...
This RFID reader module is based on the MFRC522...
$2.40
-
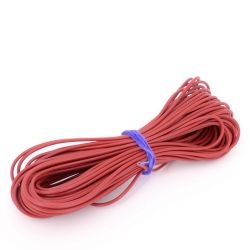
1 mm Red...
1 mm Red Wire (price per 1 meter) See...
$0.47
-
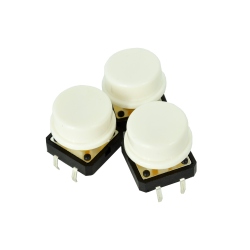
White Button...
These white round caps are designed for push...
$0.48


